Hi! I’m Kayla Stark, an illustrator working primarily in the children’s publishing world. You’re reading “Odd Thoughts”, my blog/newsletter where I talk mostly about illustration, process, publishing, and anything else that’s tangentially related in my life. Join in! Everyone’s welcome!
It’s twilight on Halloween as I’m writing this. Sit back, light a candle, eat some candy, I want to share with you the “Scarry” collection of illustrations I did waaaaay back in August of this year.
What do you get when you cross children’s book illustration with “spooky season” and witchy things?
Well…honestly there’s a million things I could have drawn. But it needed to work for
1. an art show at a local gallery;
2. something I’d want to add to my portfolio; and
3. be fun to make
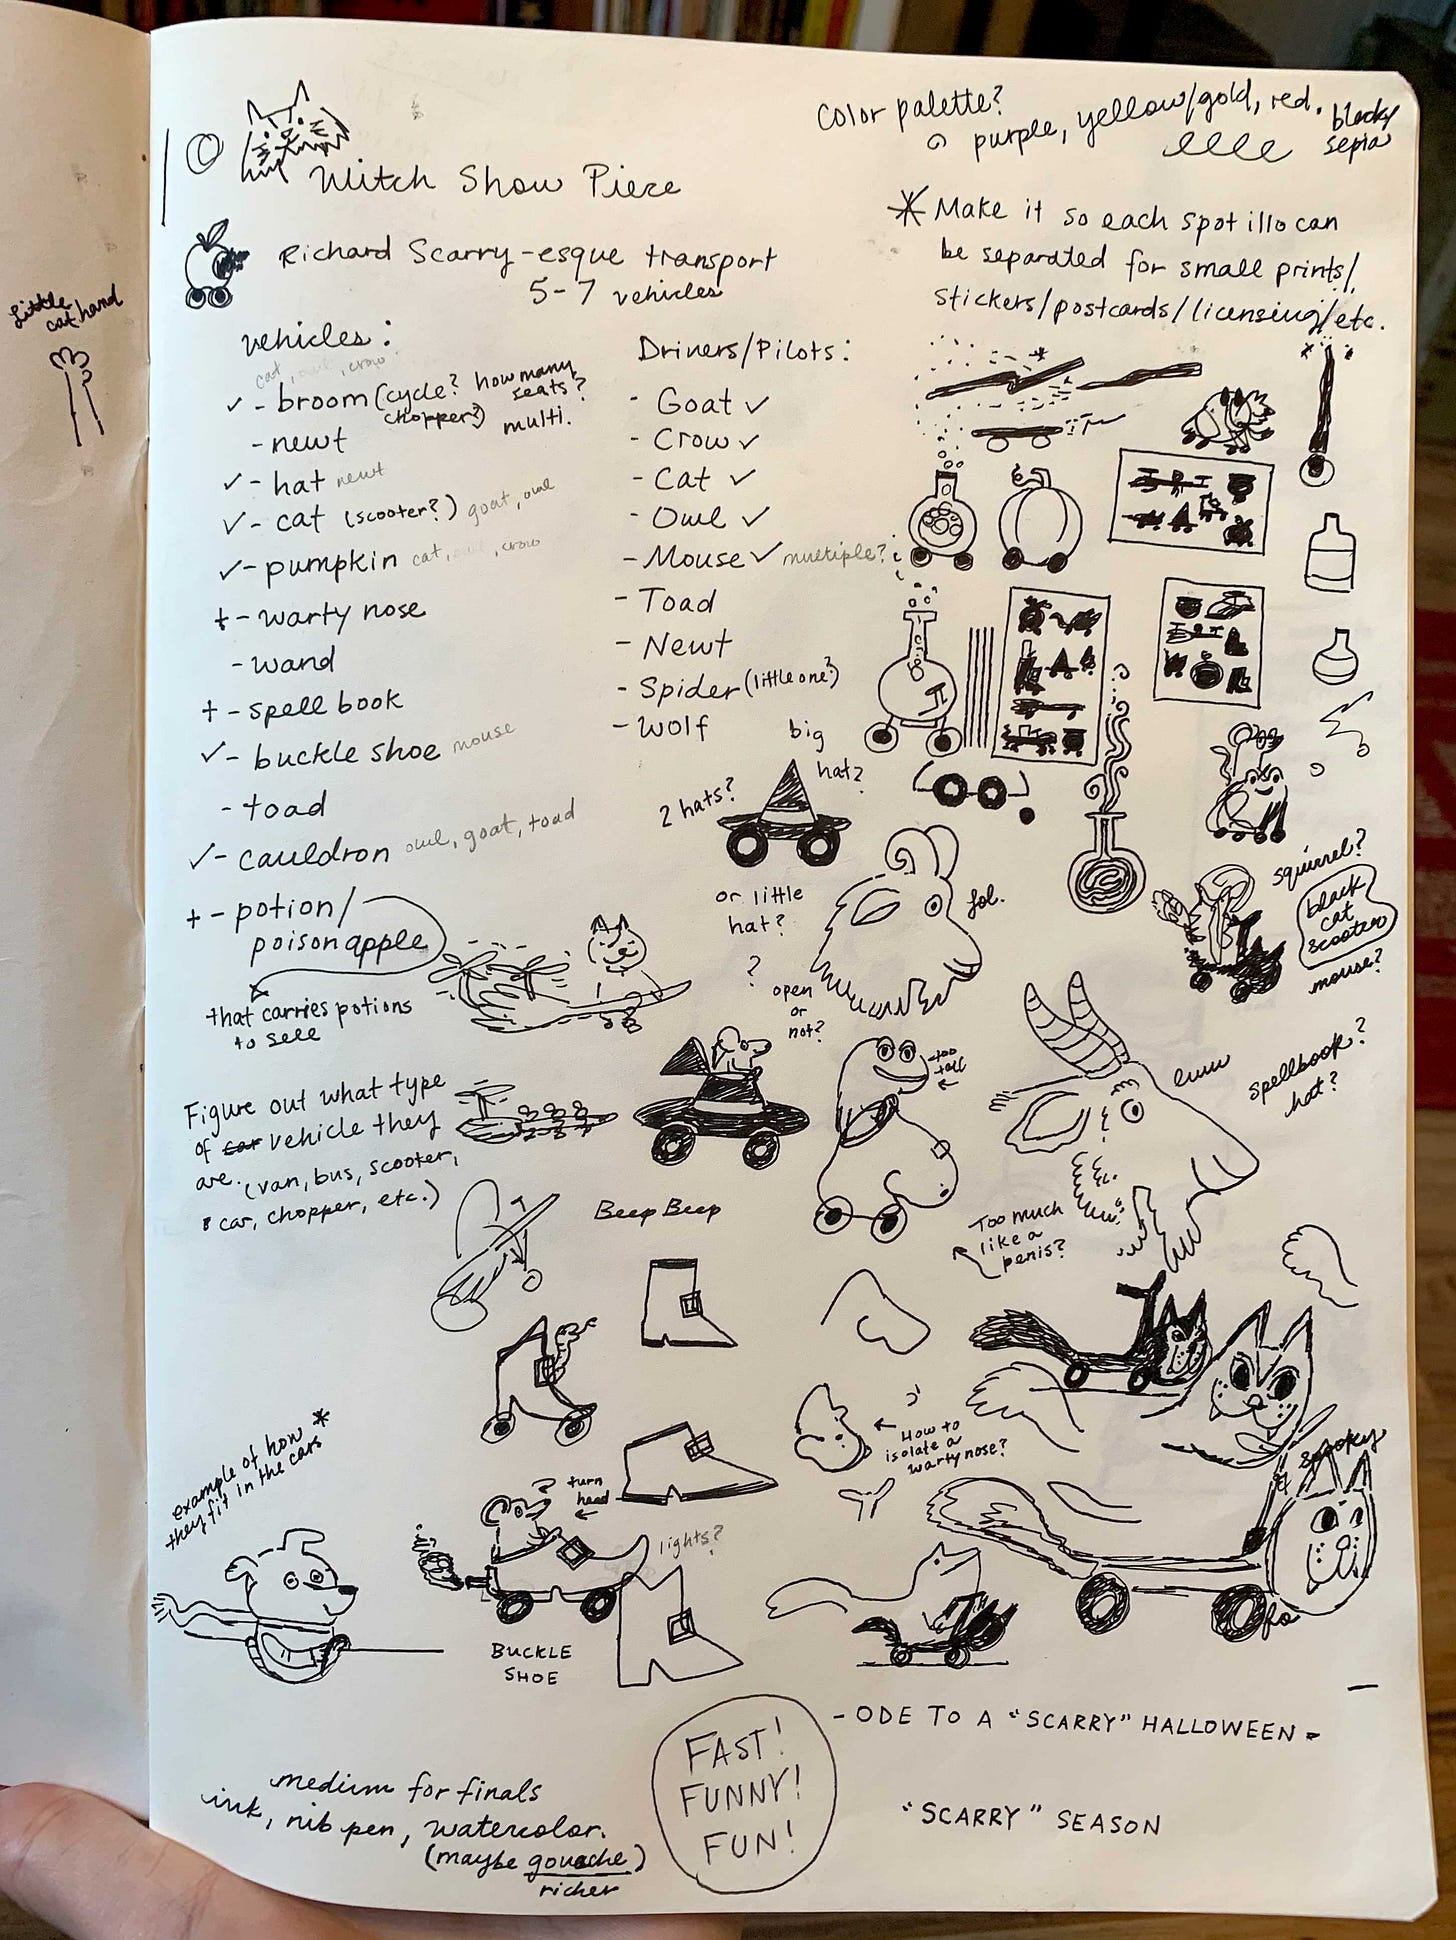
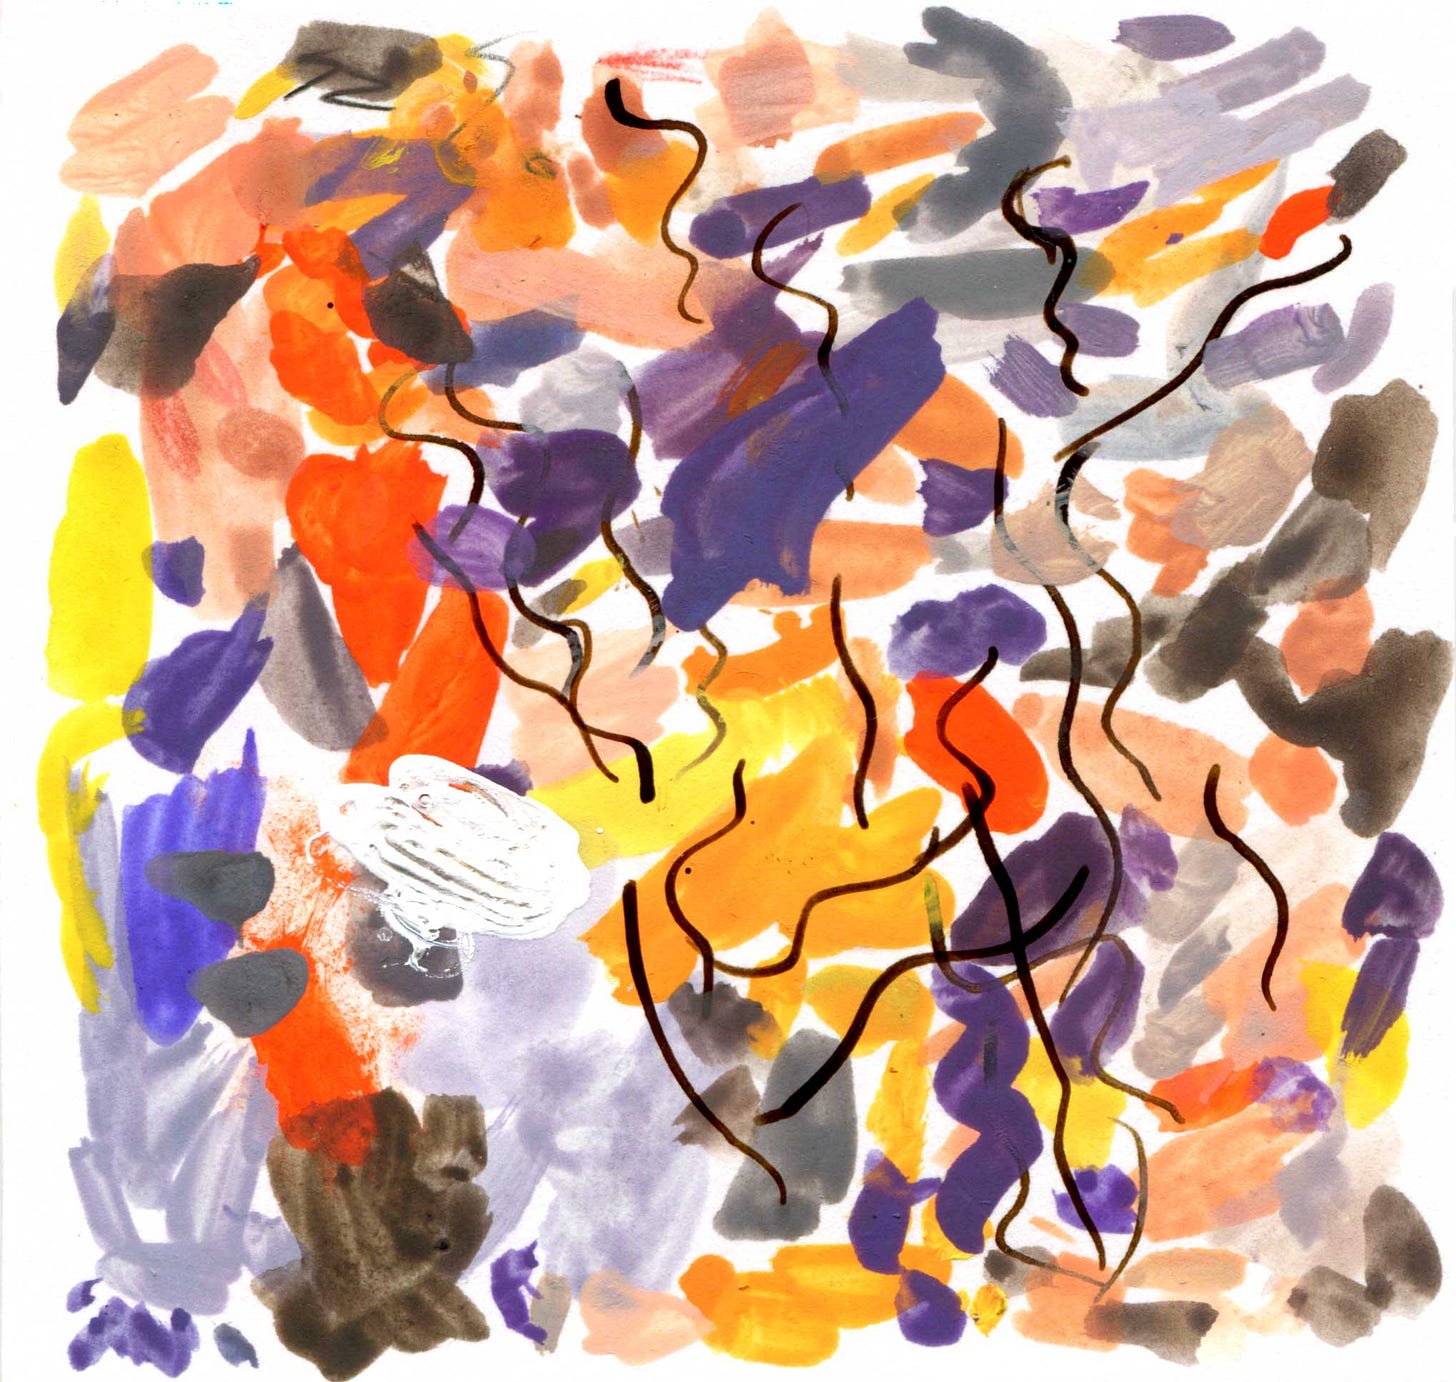
I always always always start with a mind map. (above) Then I comb through the words and make connections. Using this one as an example, I realized I wanted to connect witch familiars and transit for witches.
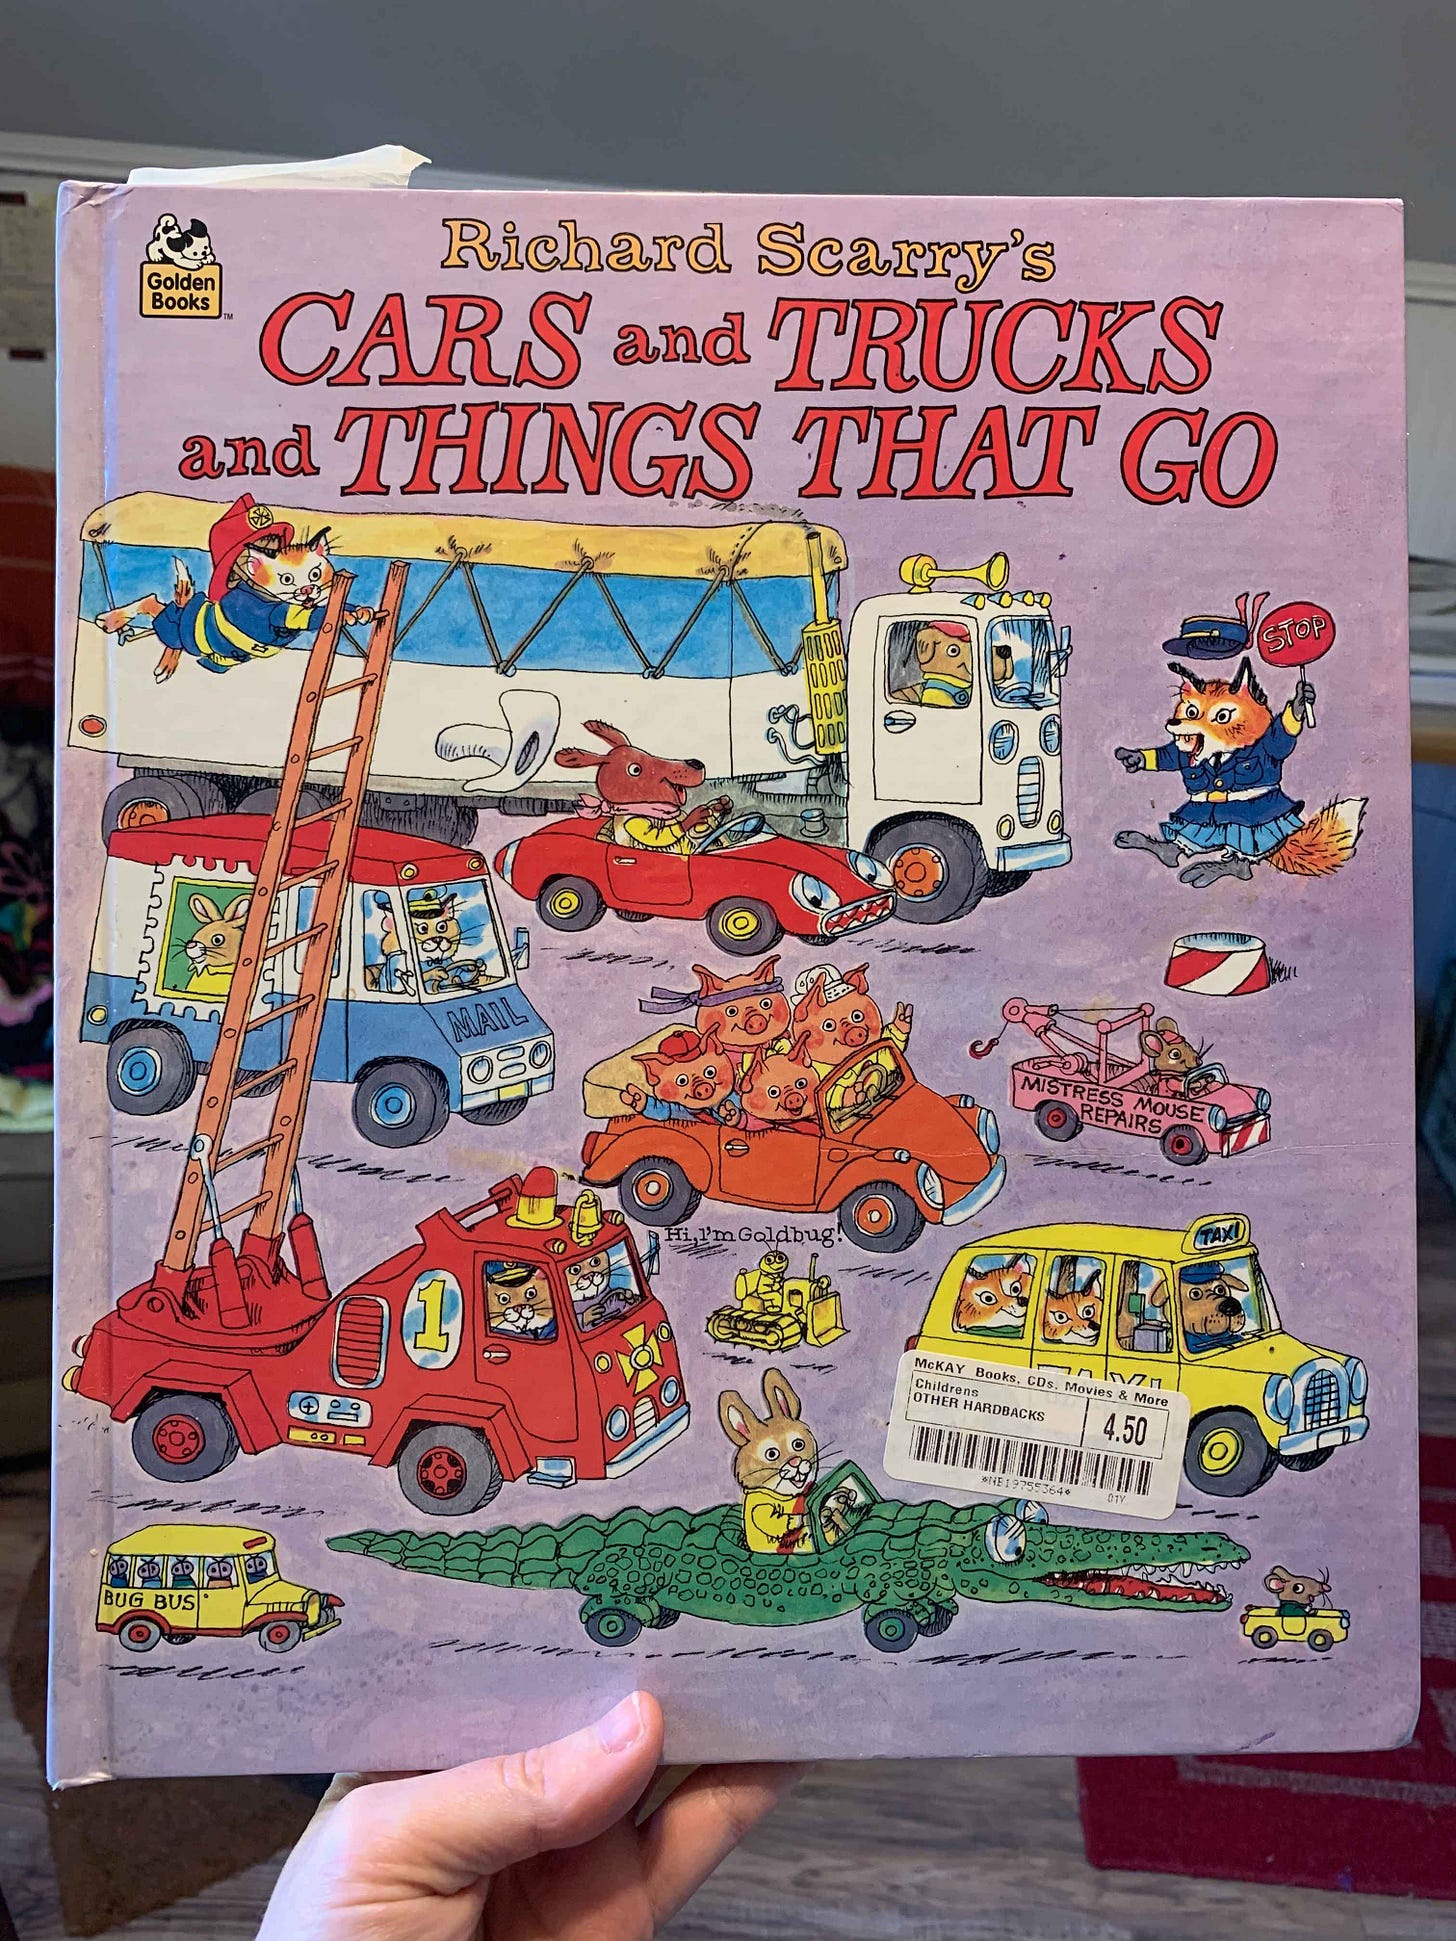
Animals and Transit! 💡 Ding ding ding…that brings to mind one master illustrator of animal operated autos—the one, the only Richard Scarry.
To the sketchbook!
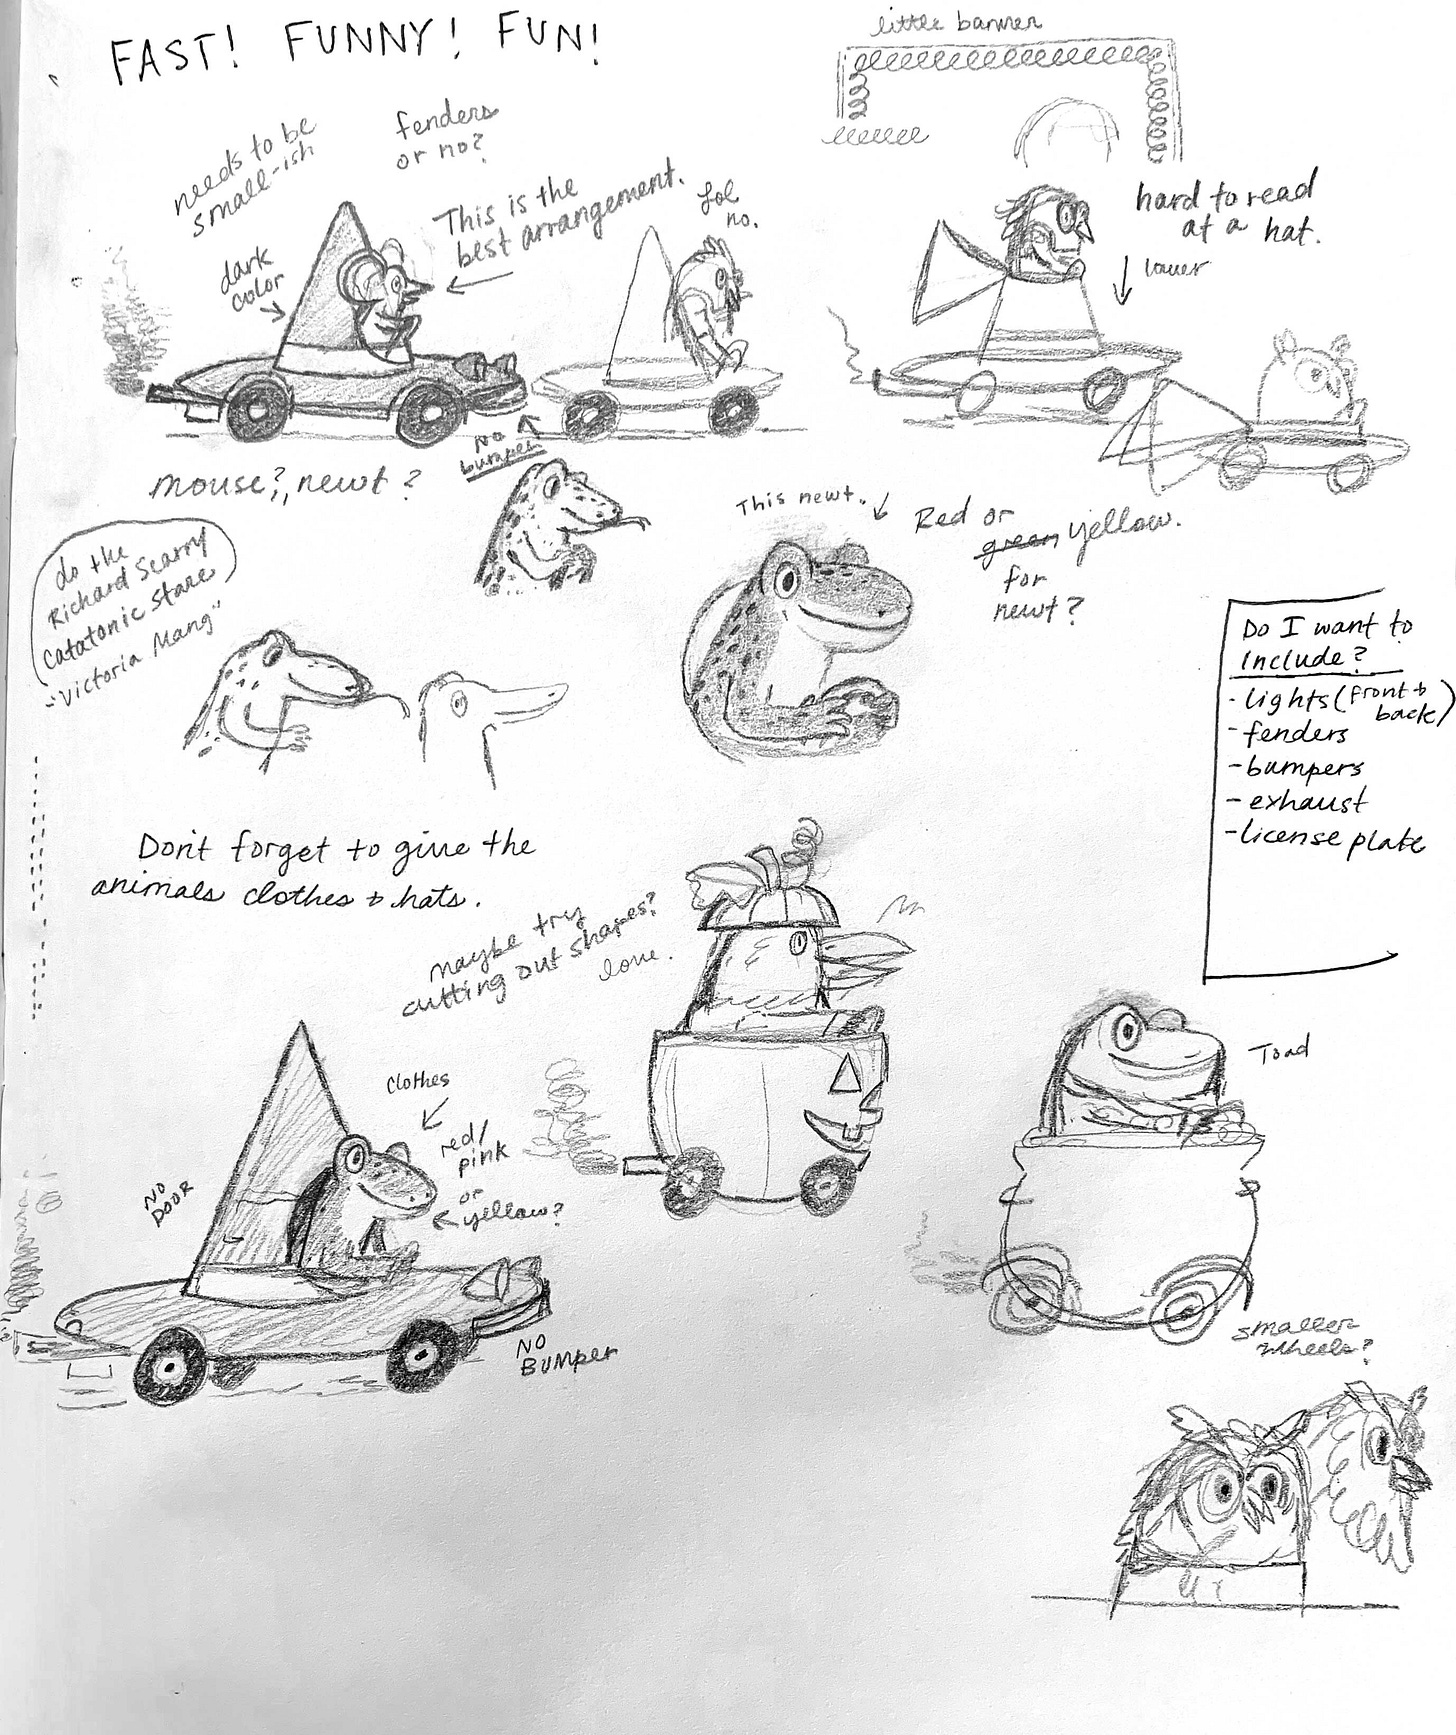
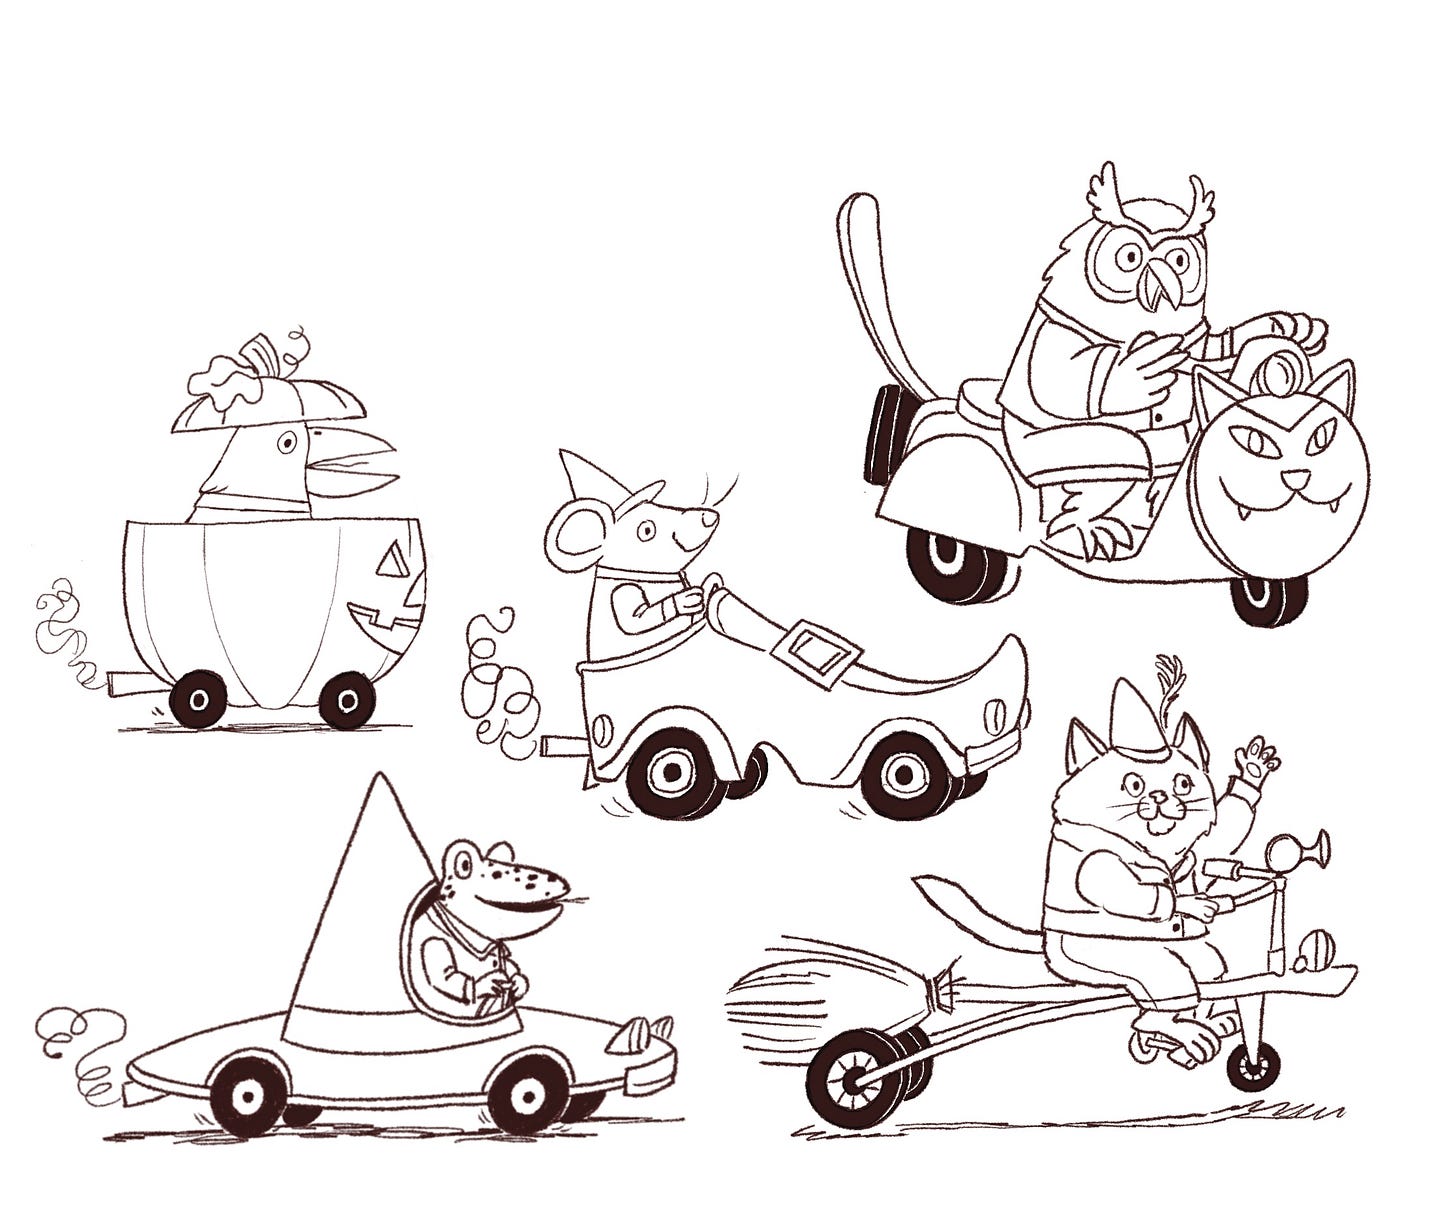
After the mind map and initial idea, I work out the rest of the details in my sketchbook. Making notes, lists, little thumbnail and layout scribbles, etc.
At this point I felt that I learned enough in my sketchbook and could start the sketches for painting. Aaaaand if I didn’t get going I would run out of time…aaaaand I just needed to move on and not overthink 😅.
To the iPad!
I used to sketch everything with the 6B Pencil in Procreate, BUT recently I’ve been using the Ink Bleed brush. I knew I wanted to use a nib pen for lines in the final paintings, so this brush felt right for digital sketches.
And for even MORE planning—I chose a limited color palette and quickly slapped it on the sketches. Having this to reference while painting helps SO MUCH.
I don’t always plan this much on my illustrations, but I wanted all of these to feel cohesive. Determining color beforehand takes off some of the pressure/decision fatigue in the painting stage.
To the painting!
Brushes out, nib pen cleaned, paint colors mixed (acryla gouache), sketches transferred—let’s get down to painting business. Here’s a quick reel of the painting/inking process.
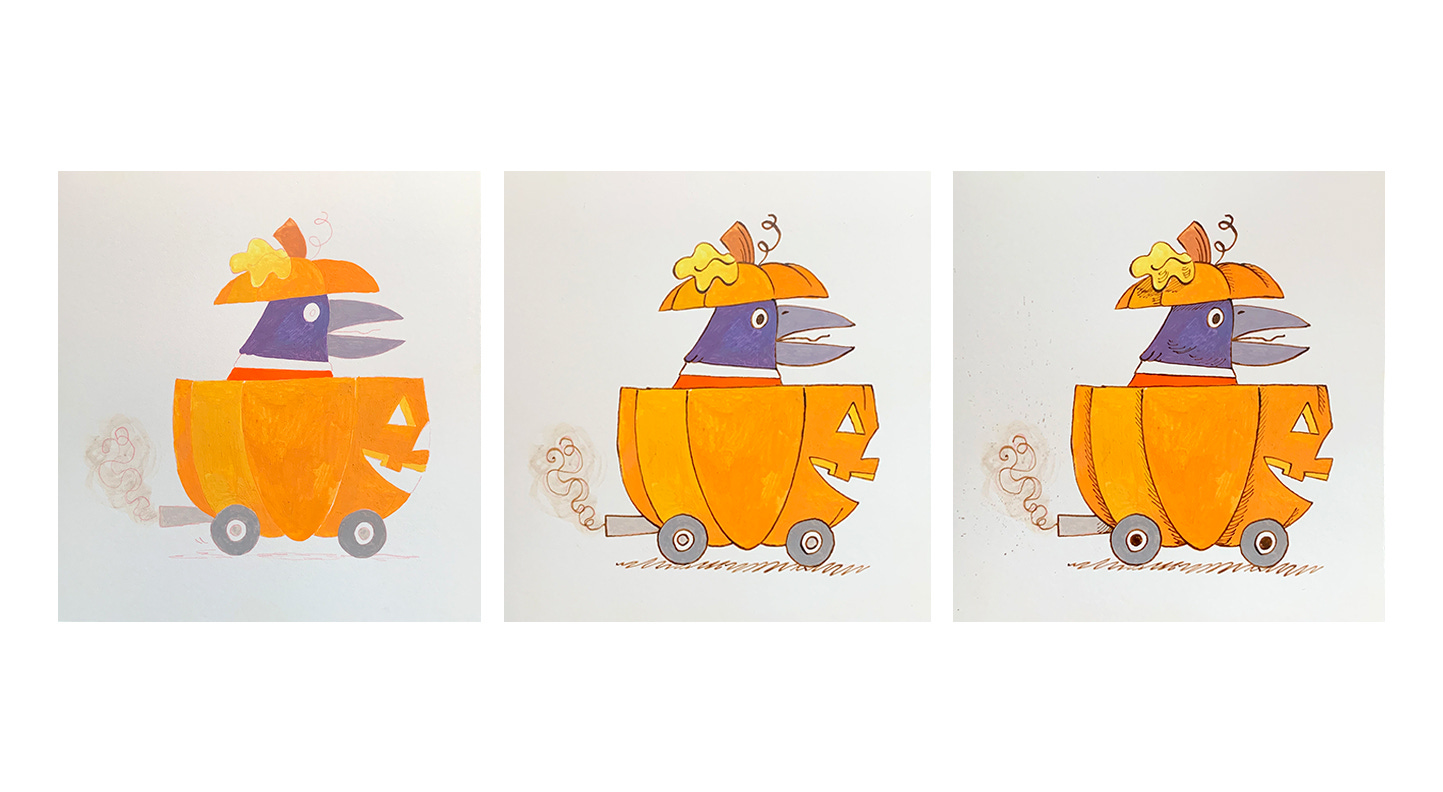
Aaaand (if ya like) a little 1, 2, 3 below to show the steps.
Left: paint main shapes with acryla gouache; Middle: add lines using nib pen and acrylic ink; Right: little scritches and scratches with the nib pen for some diMenSiOn.
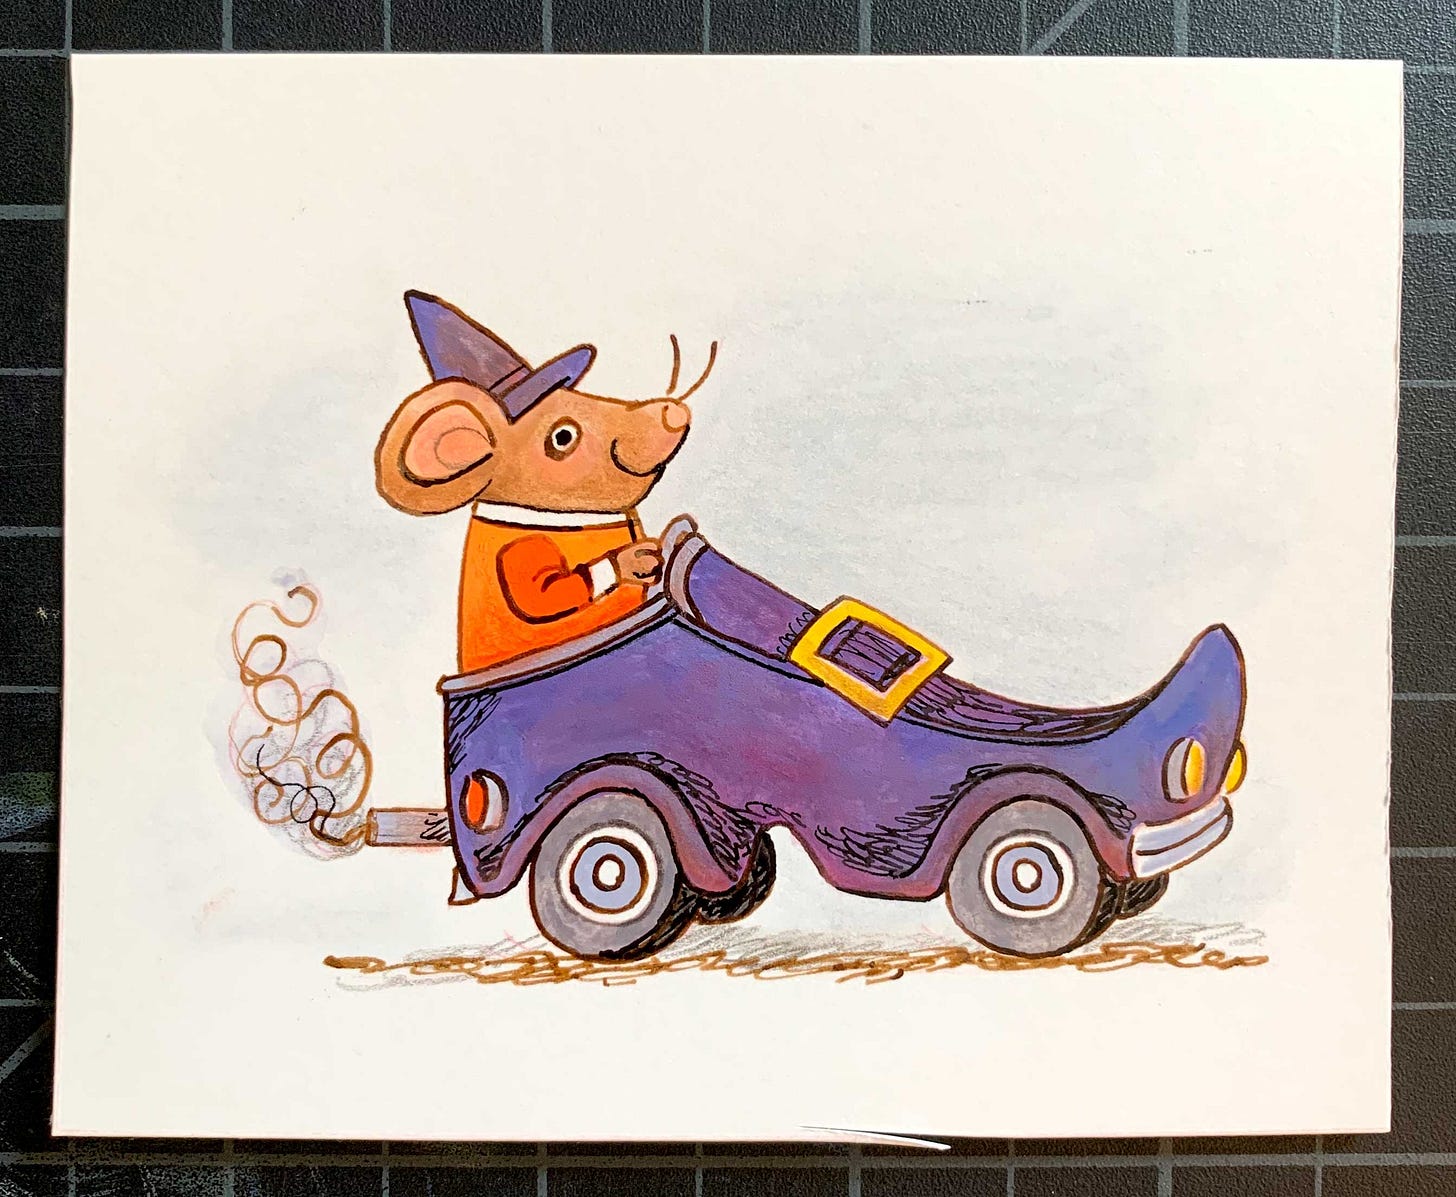
The first painting I did was actually the mouse driving the buckle shoe. The eyeball came out looking like Uncle Fester (which is a look, just not what I wanted).
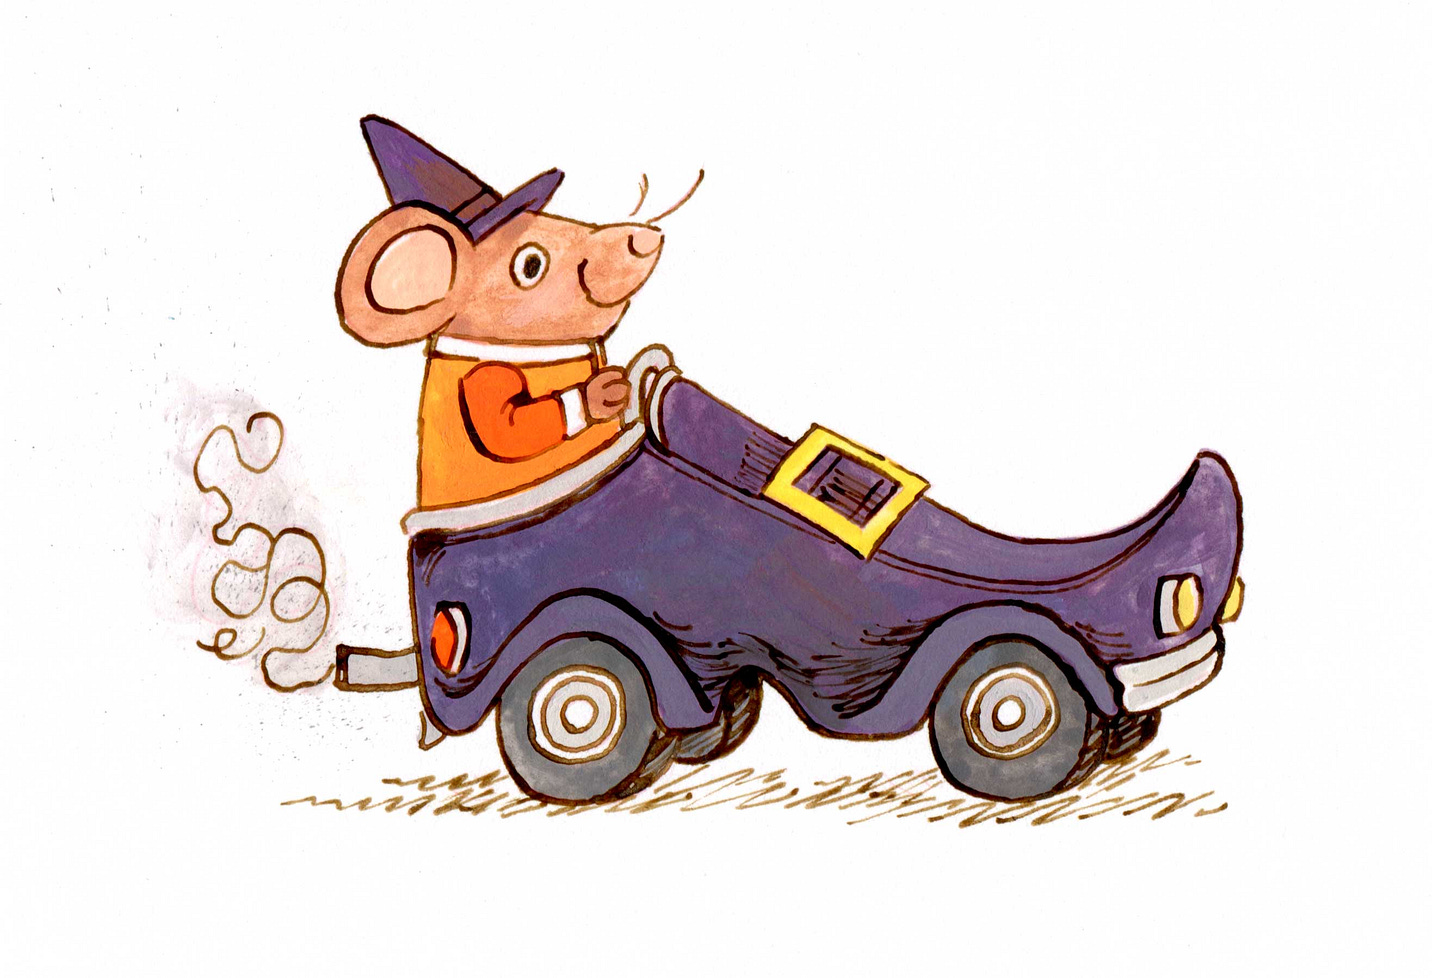
So I painted a new one! 😬 Tada!
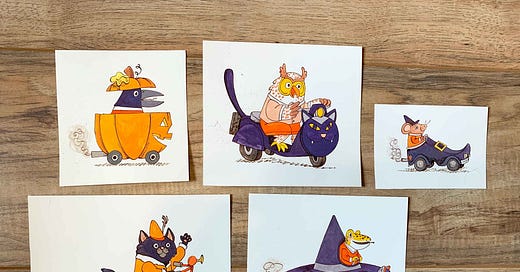
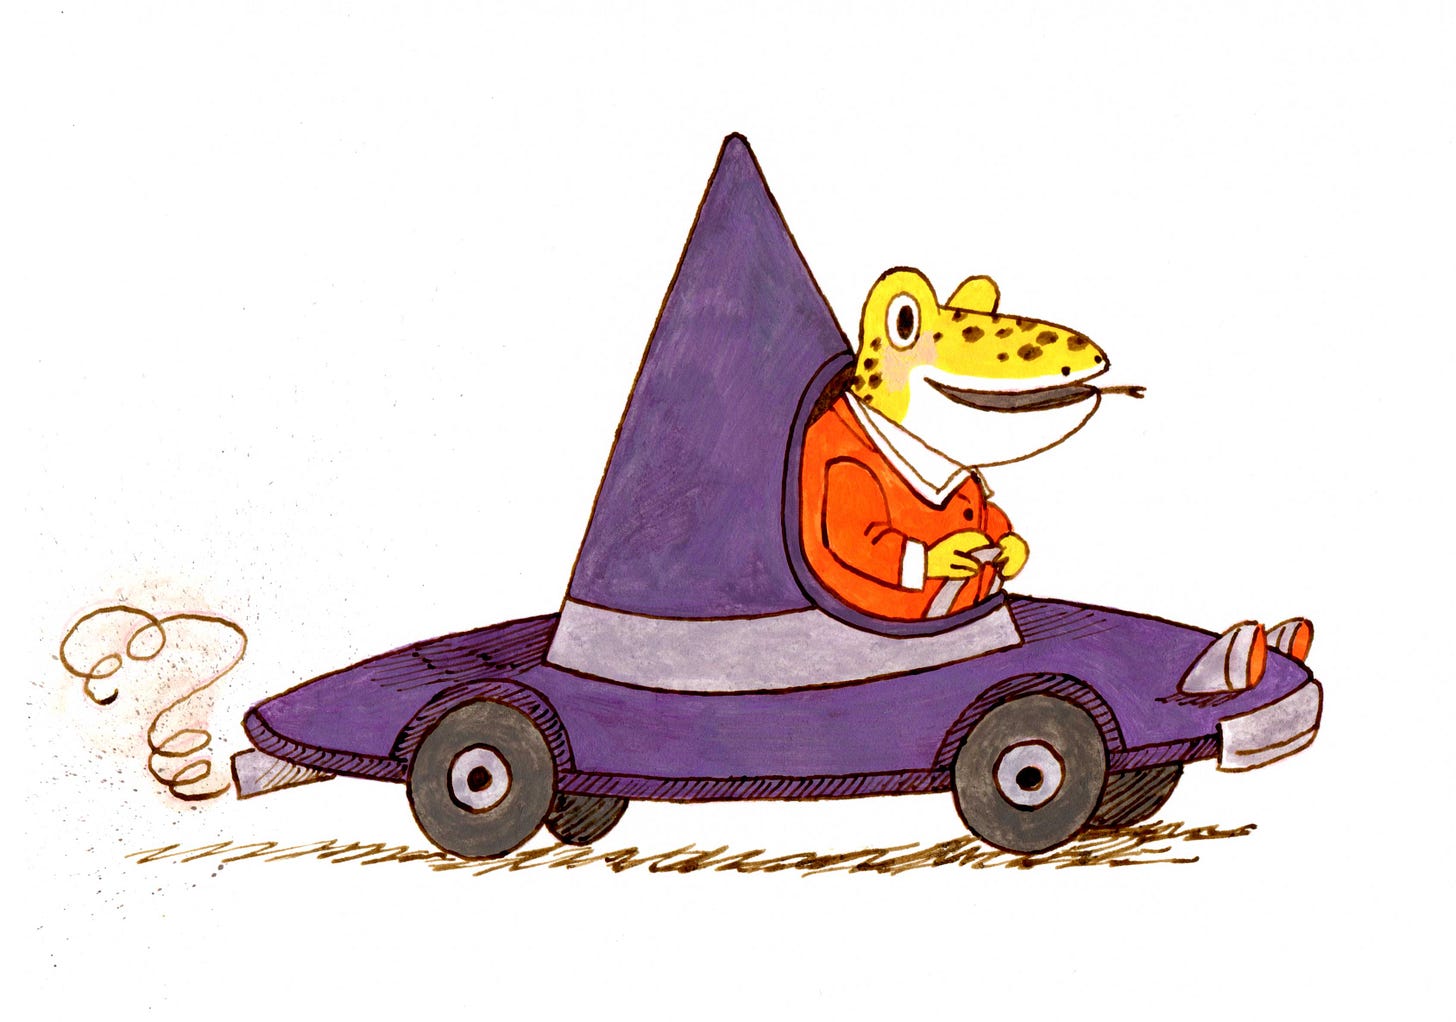
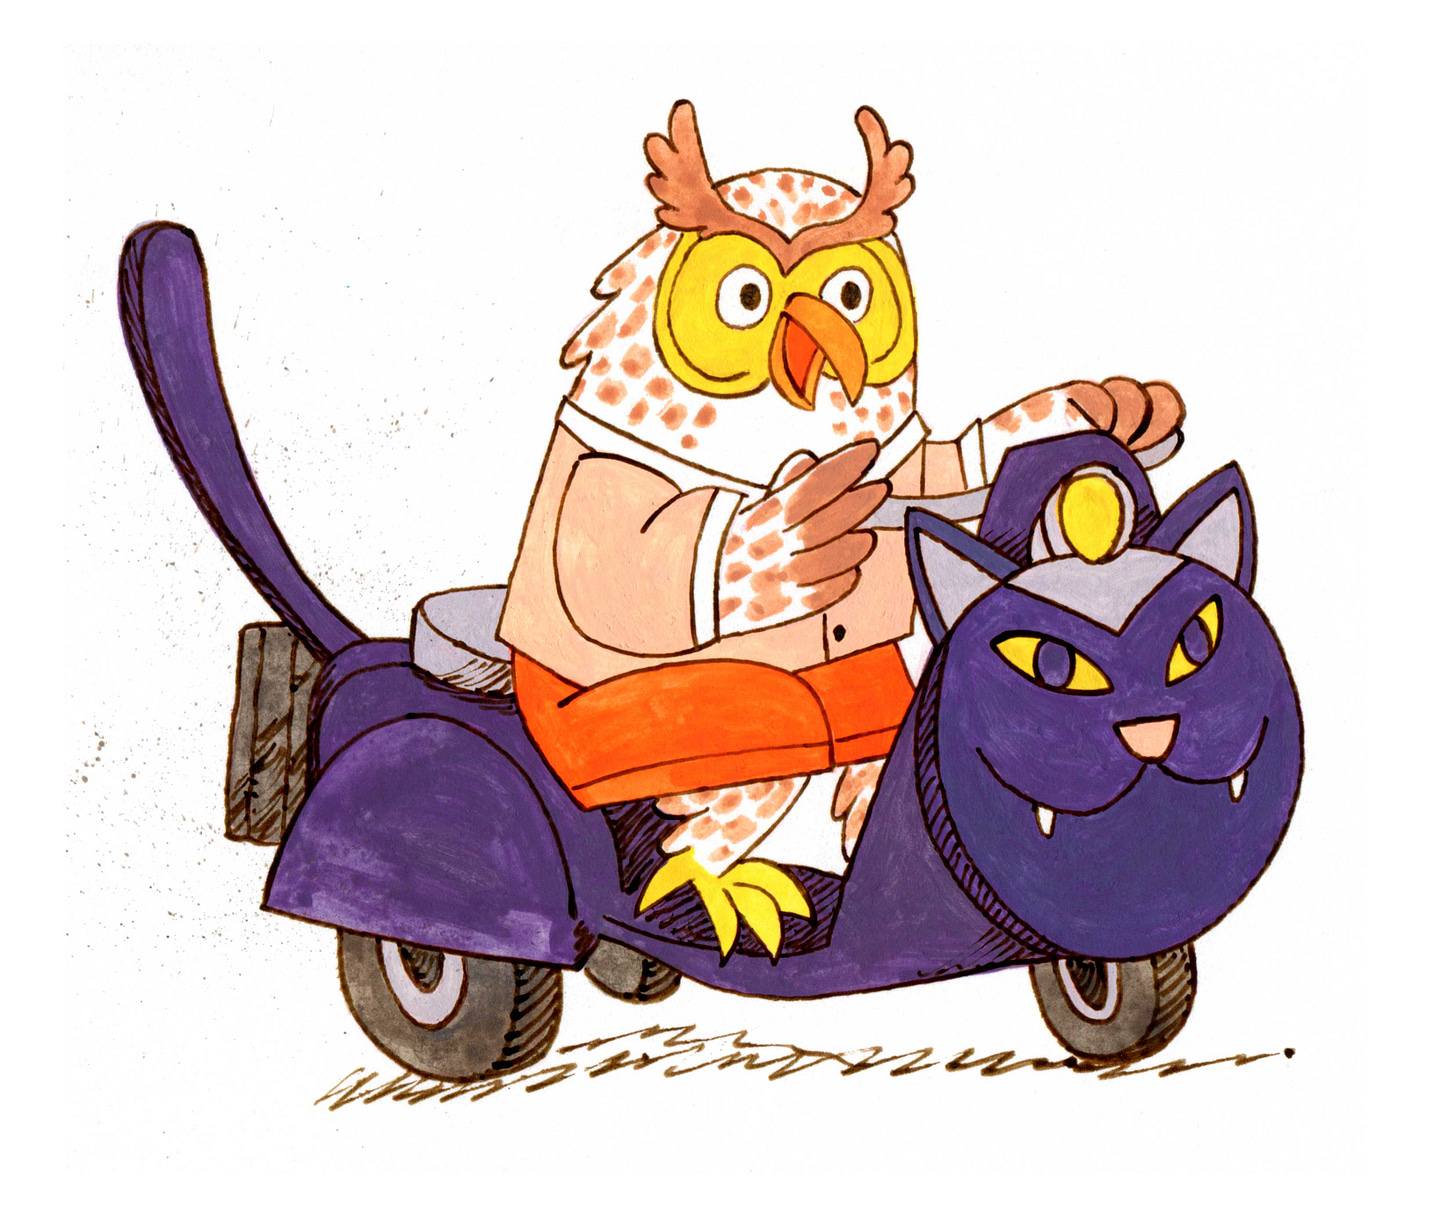
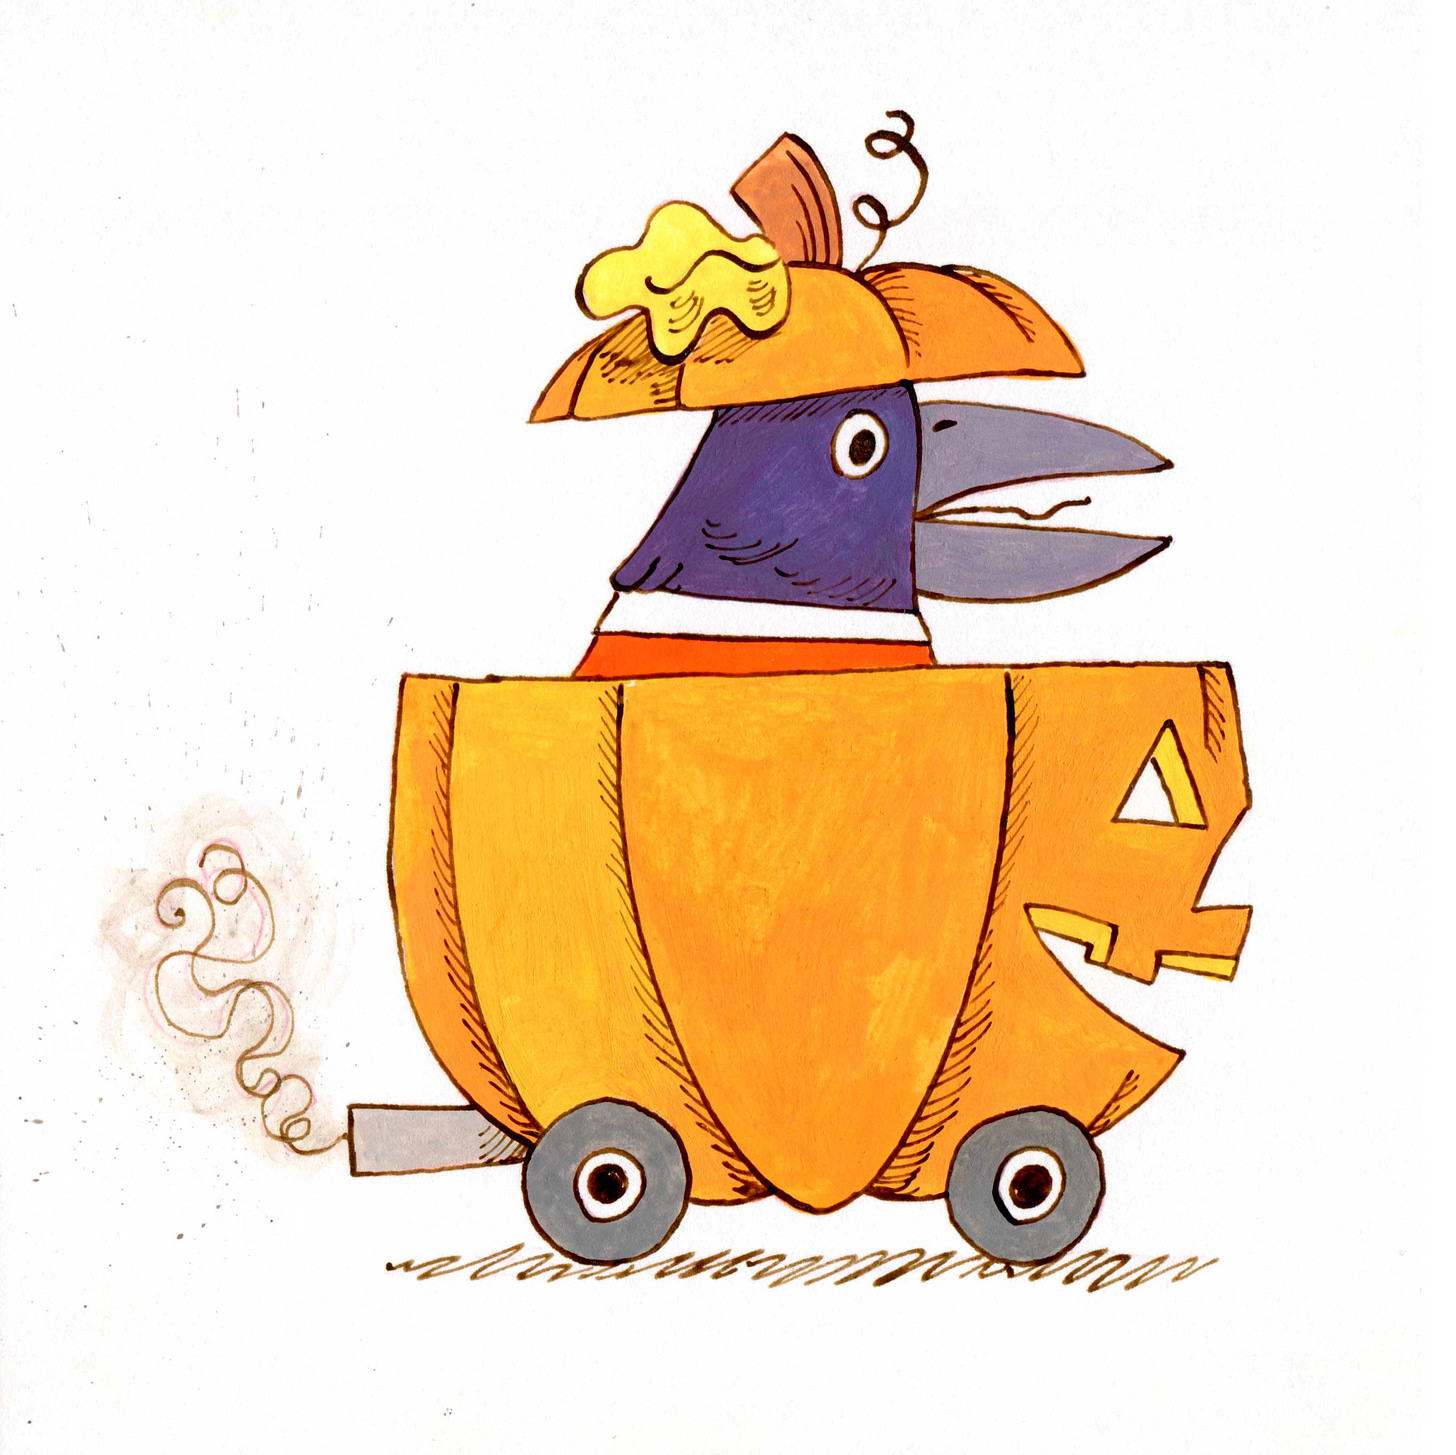
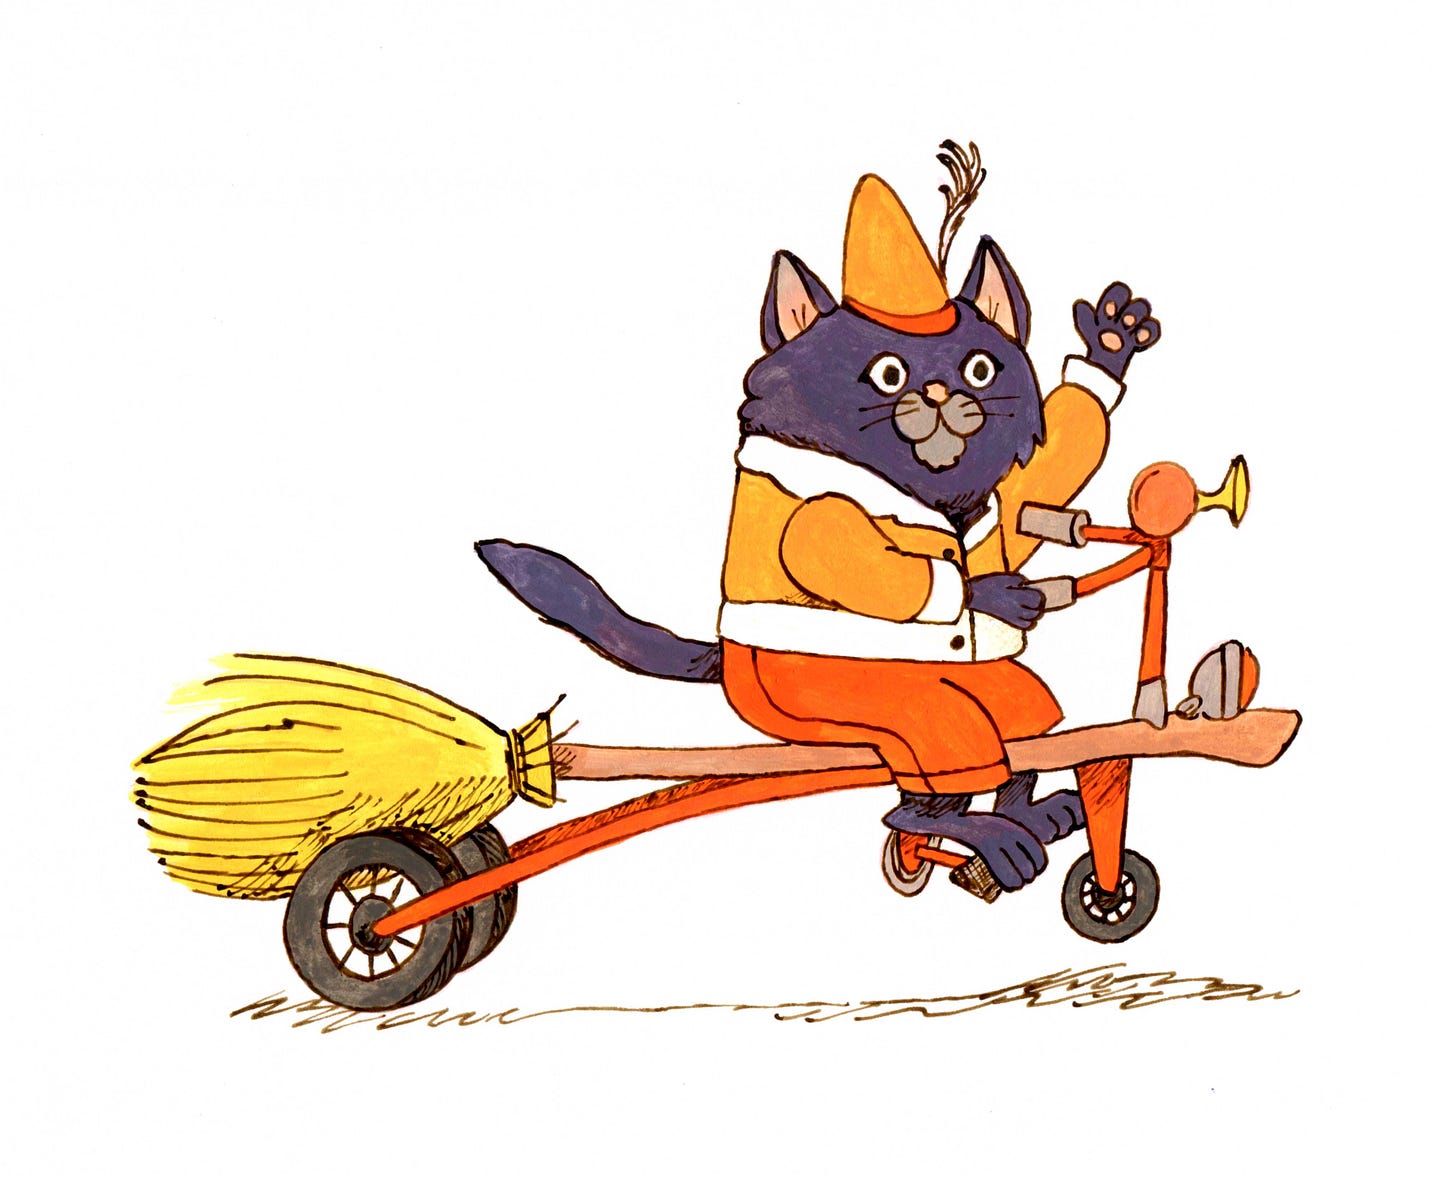
Here’s the redo followed by the rest of our little drivers.
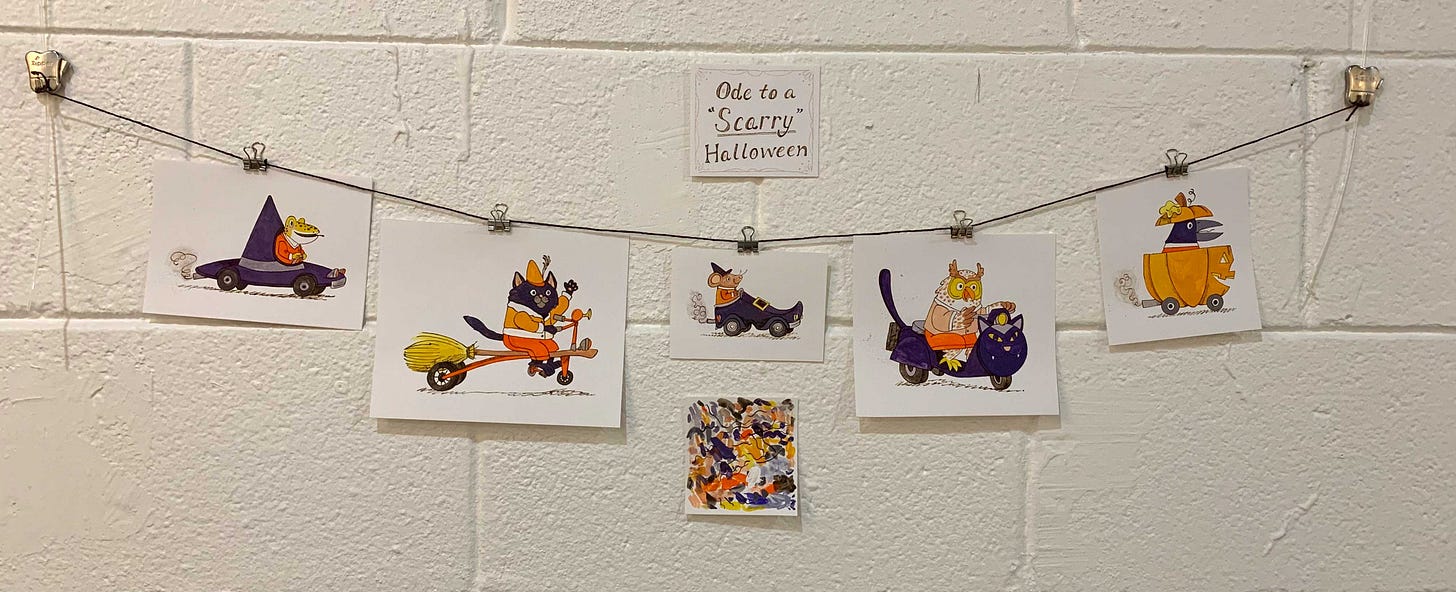
Here they are all together! Before transferring the sketches I transformed the scale so the mouse would be the smallest, the cat/newt midsize, and the owl/cat as the largest. I wanted the sizes to vary for the final display.
Like this! (below) Really going for “elementary school classroom Halloween decor”. Nailed it. 😄
This is one of my favorite self-initiated projects! (so glad I made time for it) When I brainstorm for personal work, it’s almost always a collection of pieces. Anyone else? Does this collection mindset come from growing up collecting Pokemon cards? 😅
I recorded the entire painting process for “Vroom Broom” (the cat on the broomcycle) but haven’t added audio yet. If you have any specific questions toss ‘em in the comments—I’ll answer them as a voice over in that video for a paid post! Otherwise I’ll just ramble about whatever I feel like. :)
Happy Halloween everyone! (even if it happens to be Nov 1st when this goes out).







I am obsessed with this pieces! And I absolutely love how you share your process, it is incredibly inspiring. 🙌🏻🙌🏻
This is so great Kayla, thanks for sharing your process! I love seeing how you start with a mind map - I’ve never tried it. Usually I just make a random list of ideas as they pop up, but I never thought of connecting them in the way that you’ve shown here.